
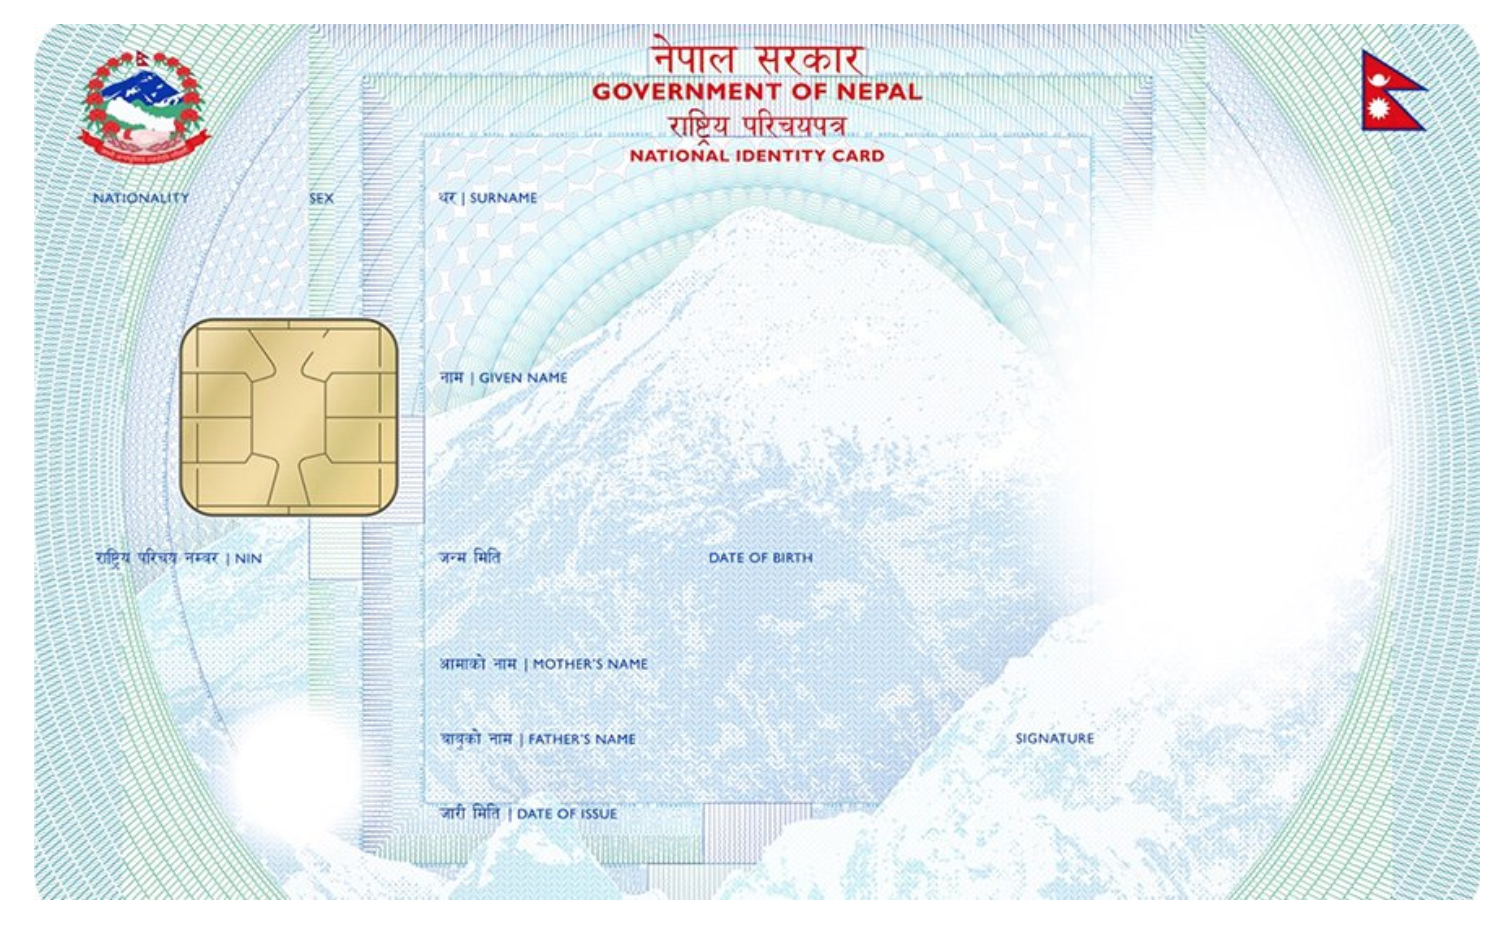
The national identity card of Nepal is a federal-level digital Identity card that holds the personal and biometric data of the cardholder on a chip. The card comes with a unique identification number for every individual and can be obtained by the citizens of Nepal. The data are collected by the government’s Department of National ID and Civil Registration.
The national identity card will feature the photo, personal information, a unique identification number, and a chip just like the one seen on the new driving licence. The national identity card is said to replace the current citizenship and this single card will be used for national identity, voter’s card, and also as a social security card when implemented on a full scale. However, it will not replace documents like a driving licence or passport that have special purposes.
Before the plan is fully implemented, many people are already applying for the card as it has been made compulsory before you apply for the new e-passports. Hence, today, we will show you step to step process of how to apply for the national id card online from your home.
Step 1: Visit the official site
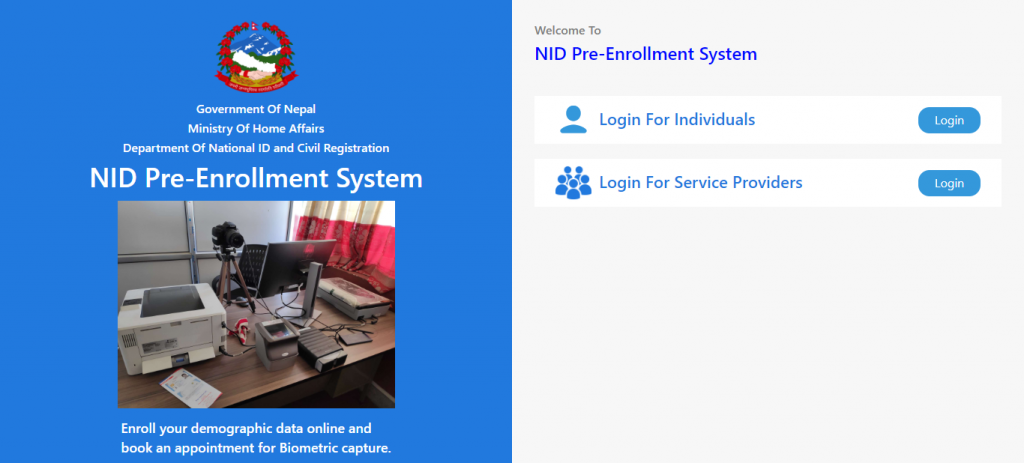
Go to the NID pre-enrolment website. On the home page, you will have the option to either log in for individuals or log in for service providers. After selecting the category, you will need to provide your mobile number. After that, You will receive an OTP code. By entering the OTP code, you will be redirected towards a new enrolment page.
Step 2: New enrolment
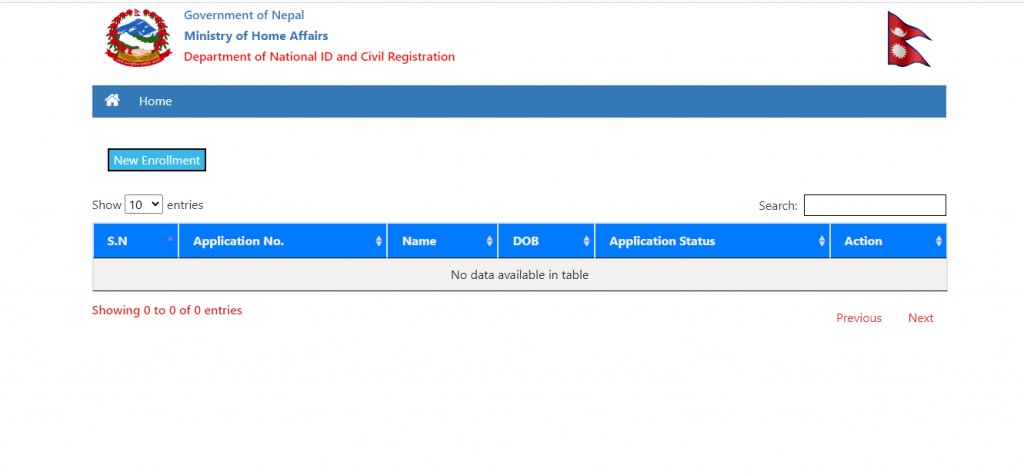
After clicking the new enrolment button, you will get a pop-up notice on the page. The notice will be regarding how to properly fill the national identity card form.
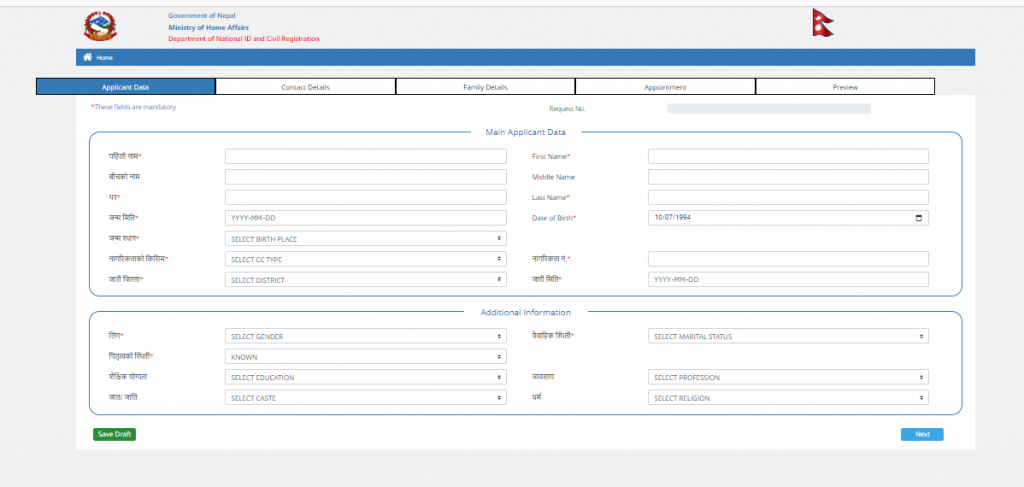
You will need to fill in your personal data including your name, DOB, gender, education, current marital status, and current profession on the first page.
You will have to provide the information in both Nepali and English, so those who are not familiar with Nepali typing may take some time to configure. Also, you will not be able to copy and paste the words from another source. After filling in all information, click the next button on the bottom right of the page. You will get a pop-up notification on the page informing you that your details have been successfully saved. You will be given a request number.
Step 3: Add contact details

The next step is to provide your contact details. The contact details include your permanent address as well as your temporary address. Press the next button after you will have provided all the information.
Step 4: Add family details
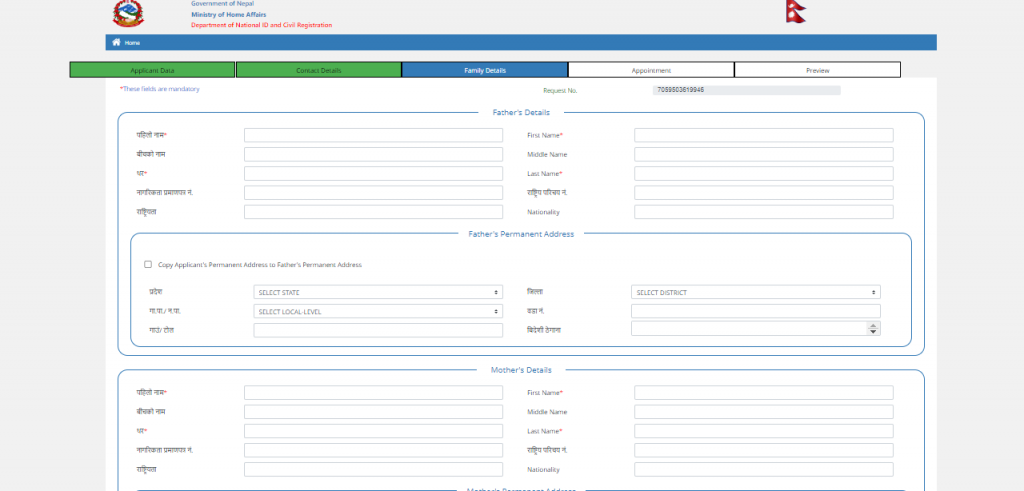
This is the step where you will need to provide the details of your family members. You will need to provide the details of your:
- Father
- Mother
- Grandfather
- Grandmother
- Spouse
The information marked with an asterisk ( “*”) is mandatory for you to fill. The mandatory details consist of the name and surname while you may choose whether to provide the citizenship details or not. After you will have provided the required information, press the next button.
Step 5: Select the appointment date and venue
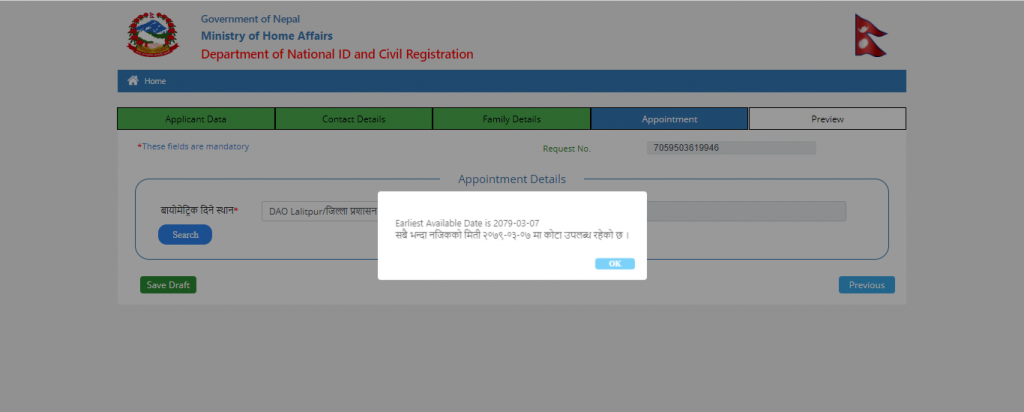
Now that you have provided all the necessary information, it is time to select the appointment date and place for your biometrics. You can select the date and location at your convenience. The system will notify you if the date you have selected is available for you or not. After you select the appropriate date and location, press the next button.
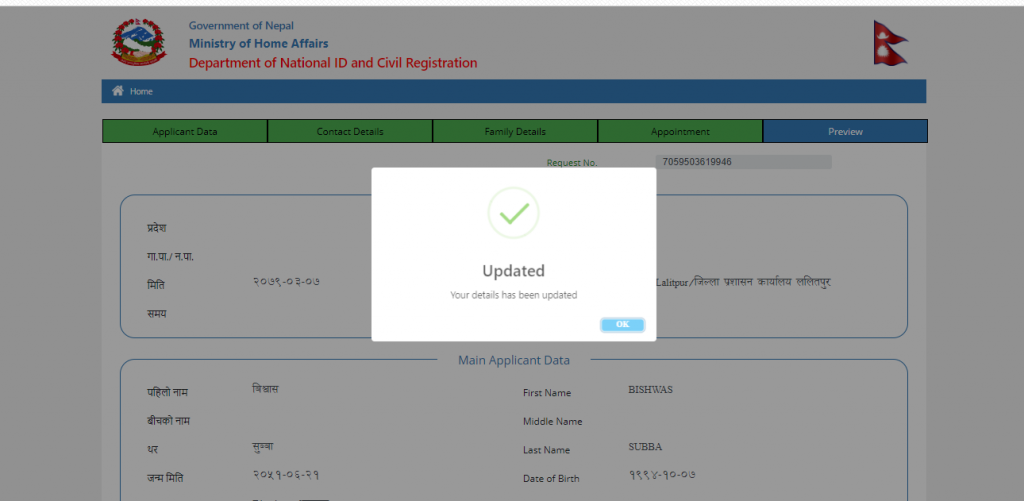
After you press the next button, you will see a preview of your national identity card application form. Recheck the information you have submitted till now and only go to the next step if you do not have to make any amendments.
Step 6: Submit it
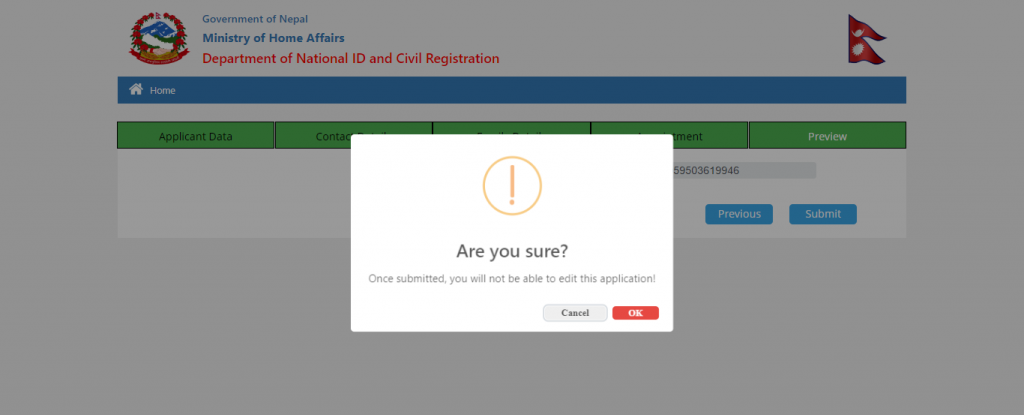
The next step is to submit your national identity card application. Before submitting the application, you will be notified that once it is submitted to the system, you will not be able to edit the application anymore. It is wise to make sure that all the information you have provided about yourself and your family members is correct before submitting the national identity card application to the system.
After submitting the application, you should visit the selected office on the date of your appointment with your original documents to get the identity card number. The actual national identity card will be provided later.