
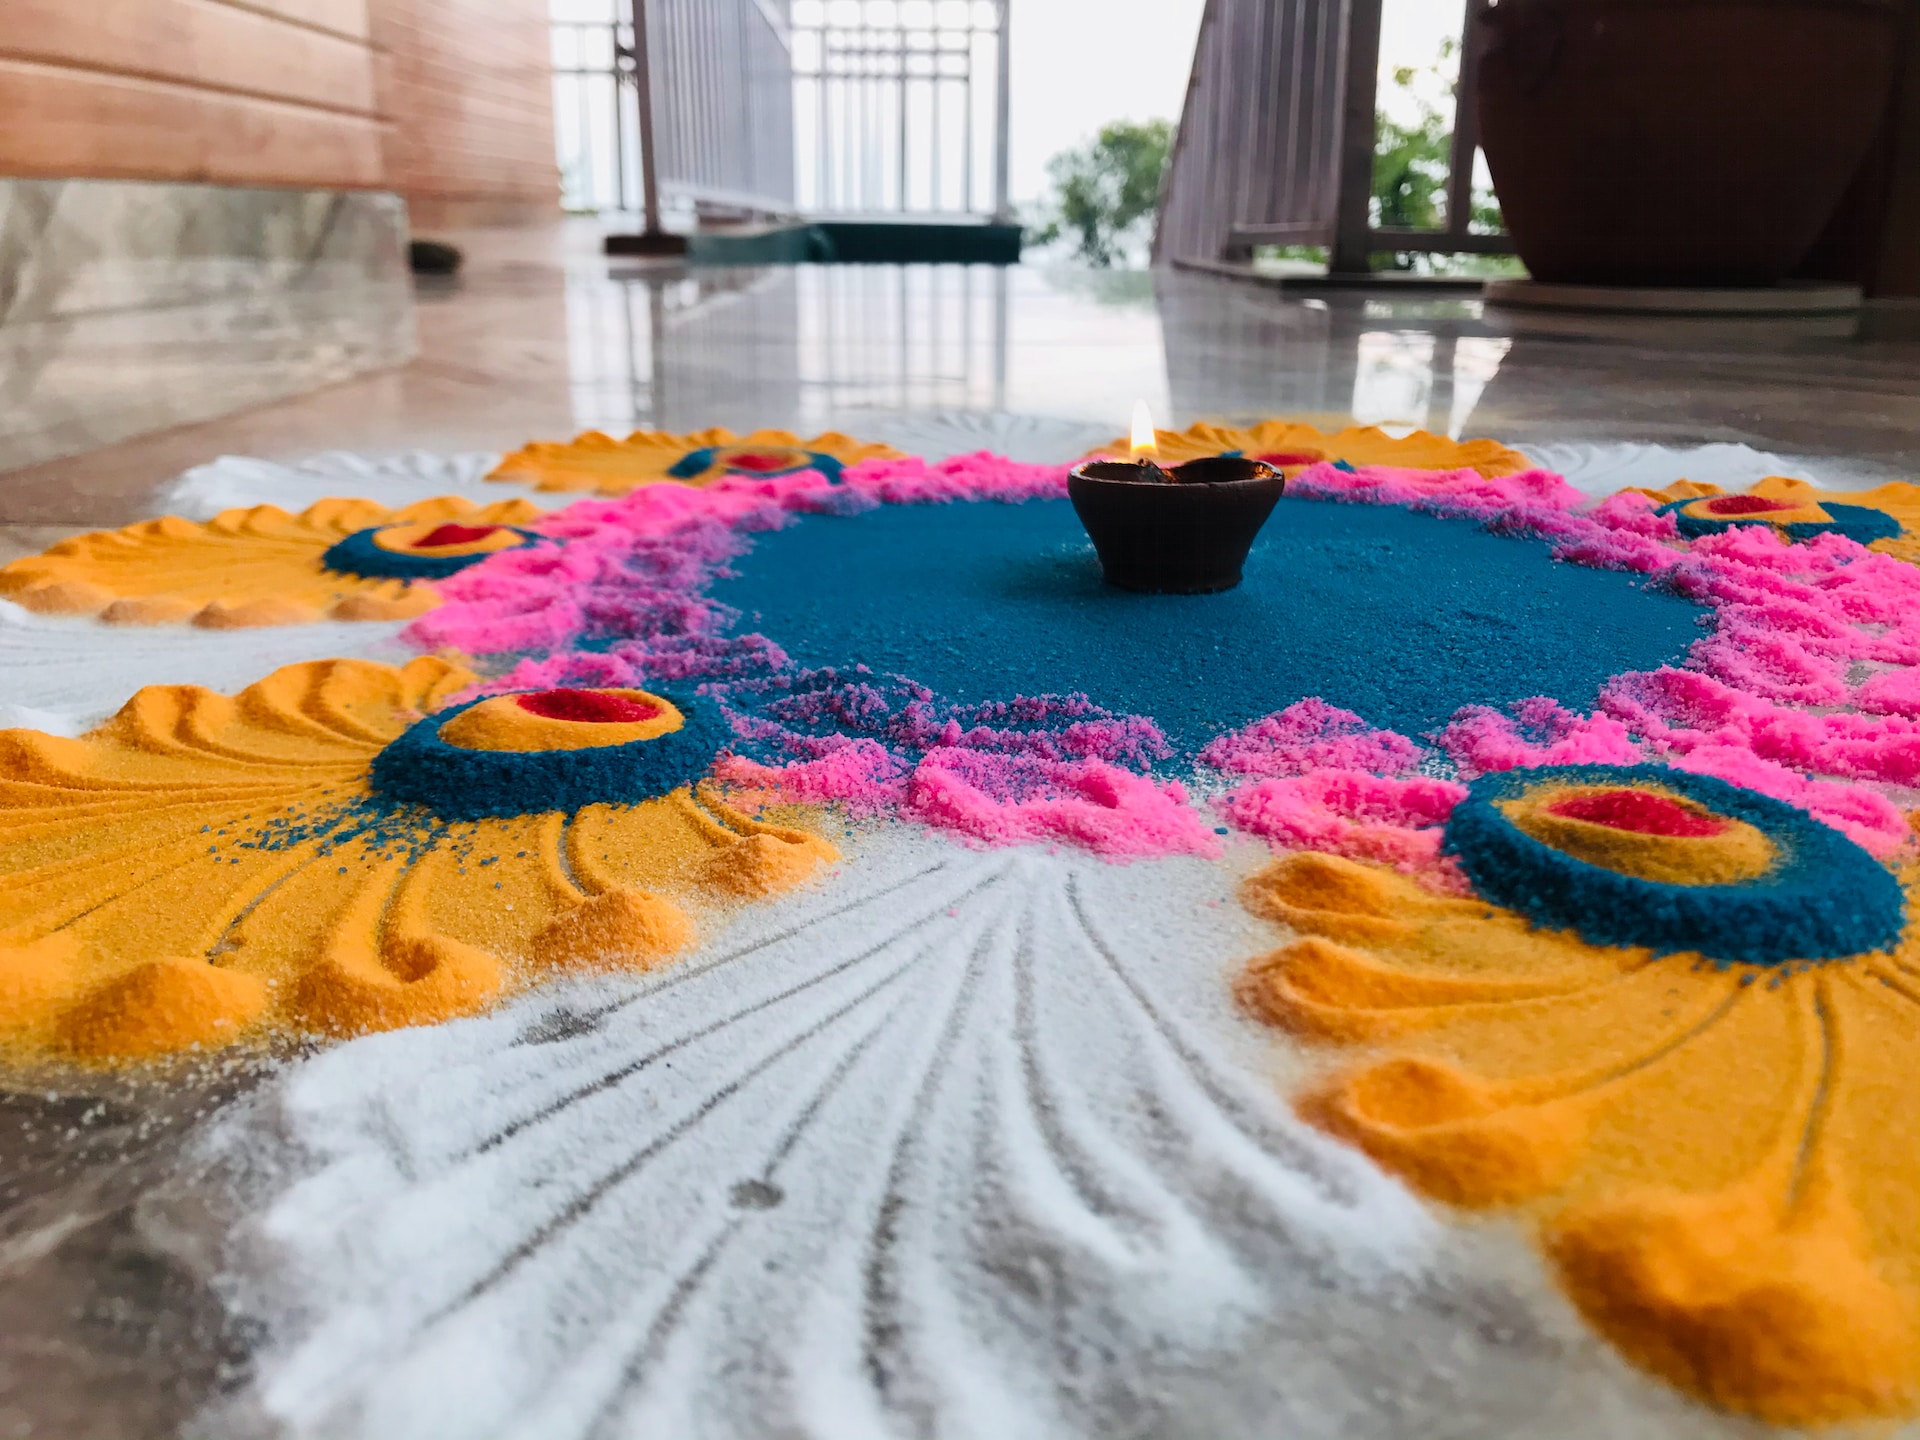
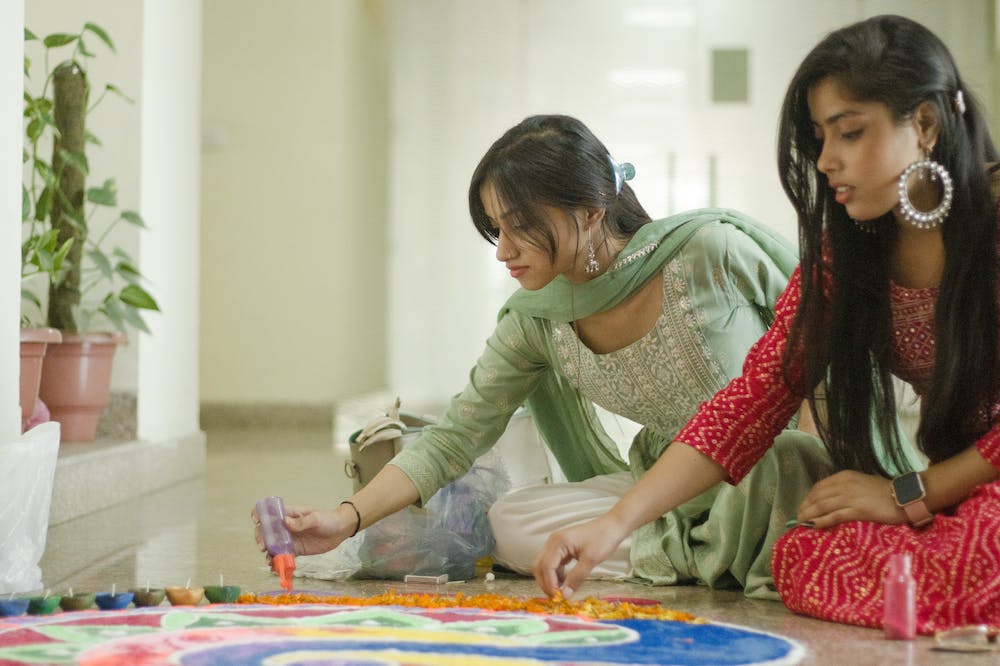
Rangoli is a traditional art form that includes creating intricate and vibrant patterns on the ground or floor, generally using powered colours. While traditional rangoli art uses materials like coloured rice and flower petals, you can also employ various household tools to craft unique and creative colourful rangoli art.
Whether you use spoons for even colour distribution or stencils for precision, these household tools can help you achieve stunning results in your rangoli art. Experiment with these different tools to create your masterpieces.
Chalk or pencil
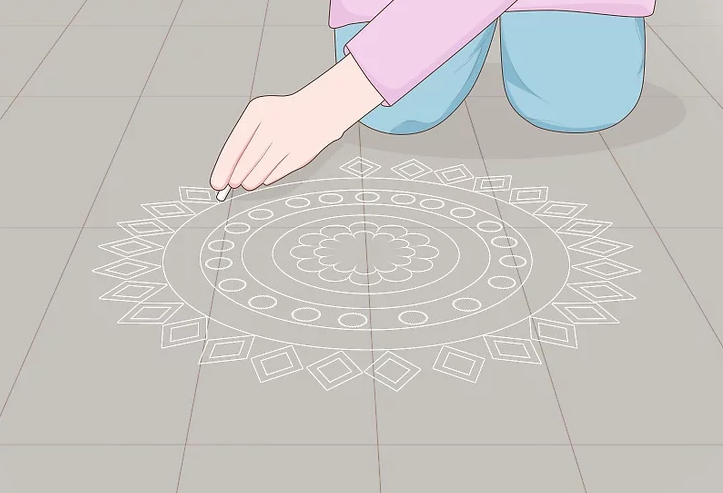
Chalks or pencils are excellent tools to start your rangoli art. Use them to draw the basic outline and design on the floor. This will guide you and keep you from making too many mistakes. If you want to create a symmetrical design, you can also use a ruler and pencil to mark equal distances and then connect the dots with your desired pattern. You can even use a compass from your old geometry box to make circles or curves.
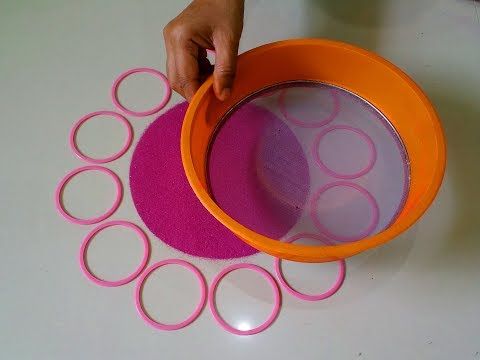
Measuring cups or containers
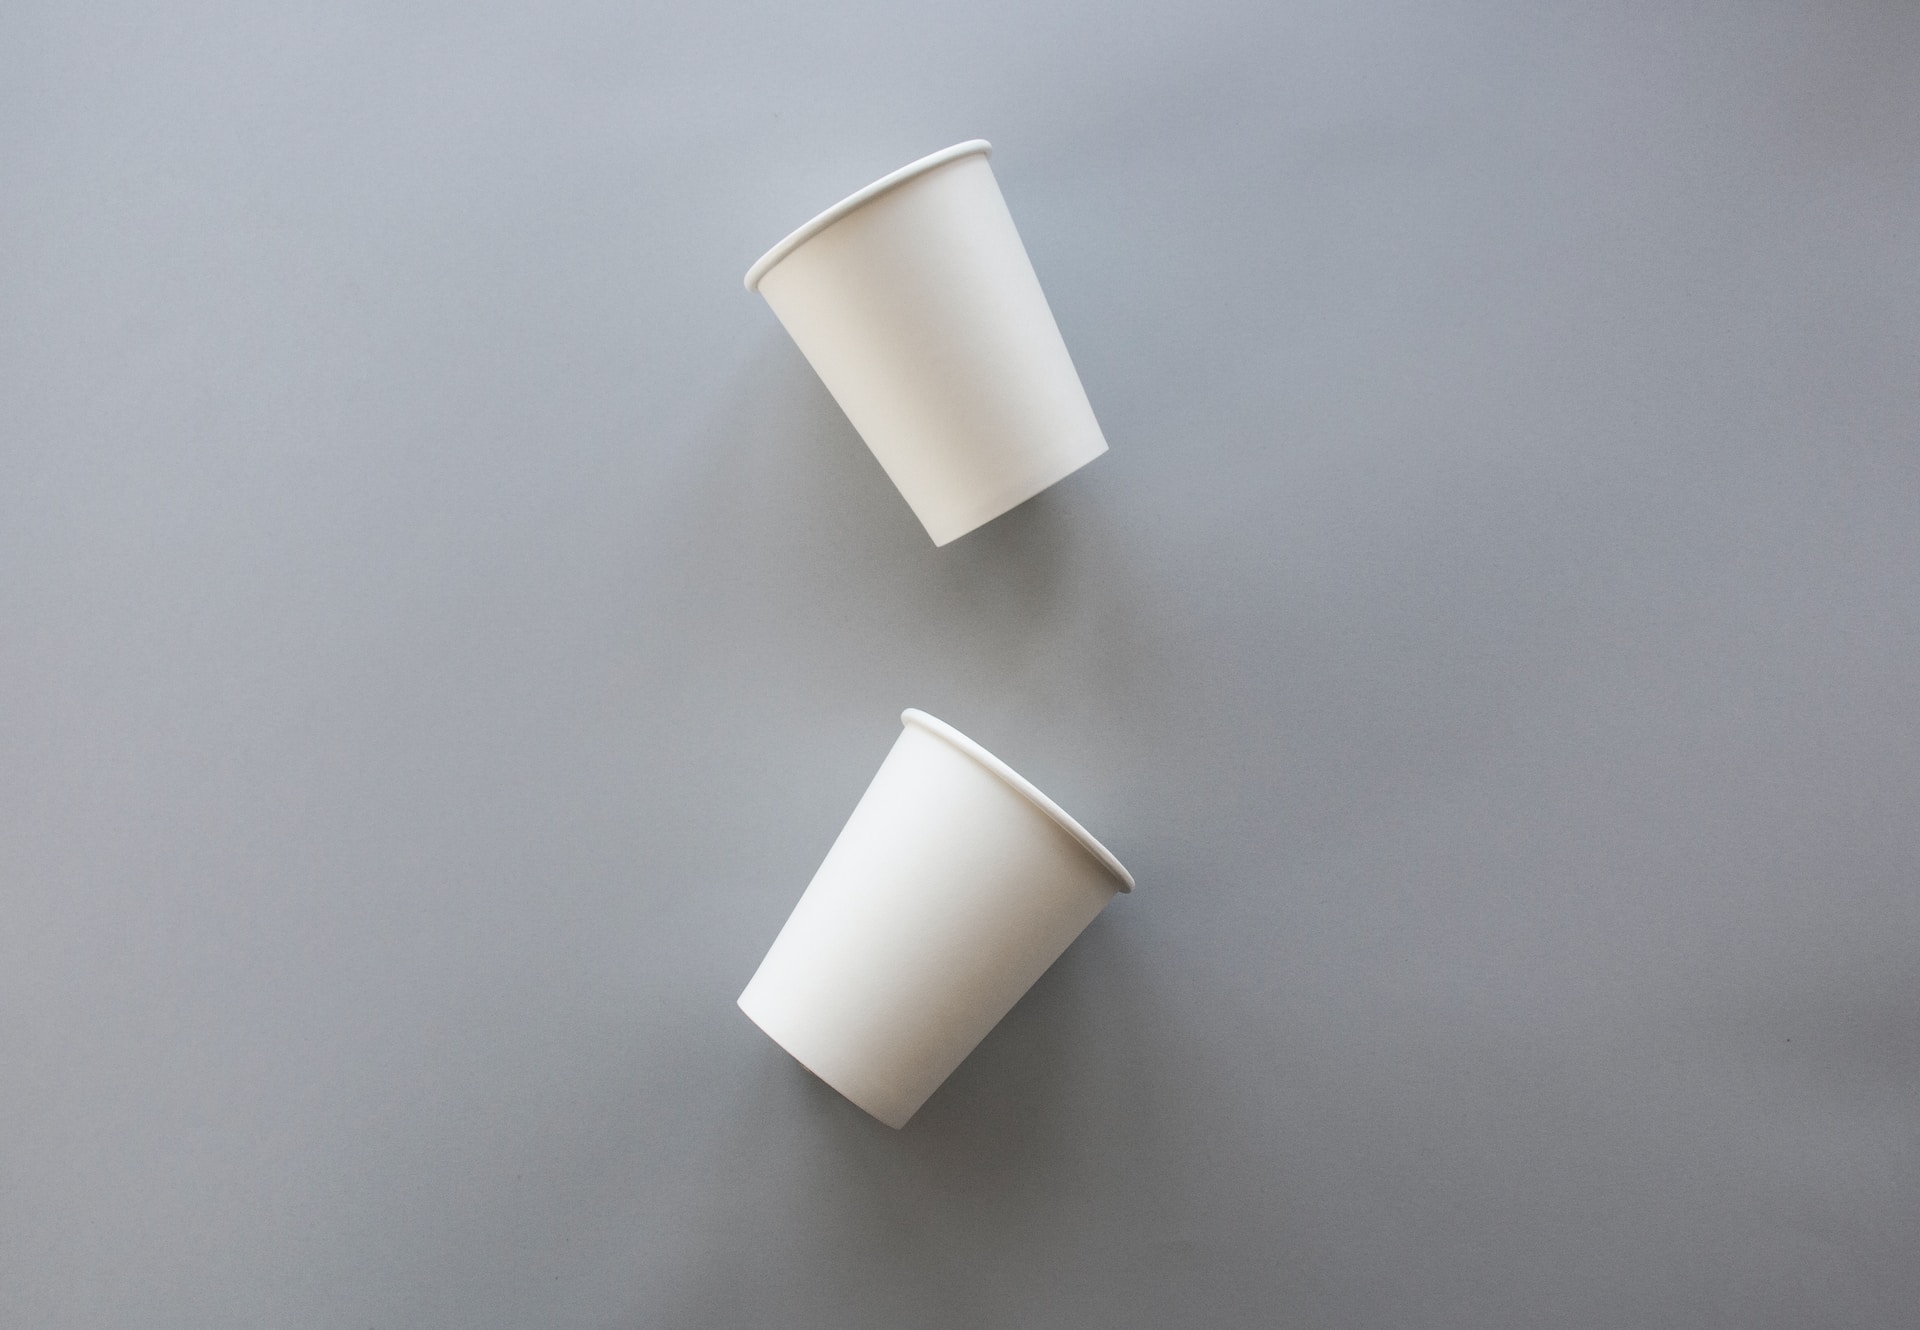
If you do not have a compass, you can still use other measuring cups or containers to make your rangoli art. To achieve perfect circles and shapes within your rangoli, just place them on the floor and gently sprinkle coloured powders or materials within these stencils to create uniform and precise designs.
Cardboards or papers
A cheat code to make perfect rangoli is to use stencils, as they can help maintain consistency and precision in your rangoli art. However, if the goal is to do it yourself and just make it look more professional, then you can either create your own designs or trace one you like on your leftover cardboard boxes or papers and cut them out to use as stencils. Place them on the floor and fill in the design with the desired colours.
Old or broken bangles
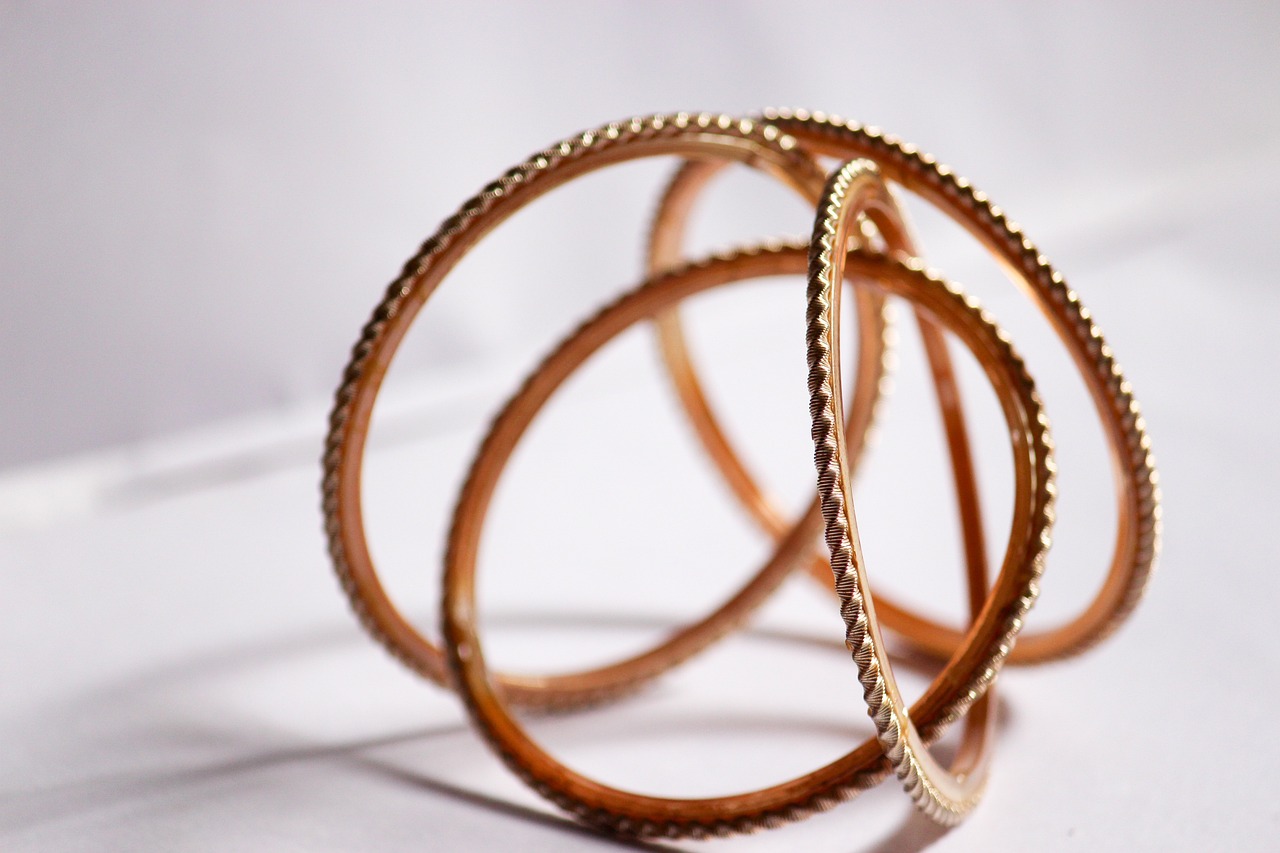
Another way you can make circles or curves is to use your old or broken bangles to make your unique rangoli art this Tihar. Arrange old or broken bangles in a circular or semicircular pattern to create a beautiful border or frame for your rangoli. The circular shape adds a decorative element to your design. Use bangles of different sizes to create layers and explore more designs.
Tea strainers or sieves
If you are done making your outer designs and have large patches of colours to fill, then doing it with your hands can get tedious and uneven. Take your old tea strainers or sieves as they can be used to sprinkle fine, powdered colours evenly within your rangoli art. This common household tool ensures that the colours are not clumped together. You might need to practice a few times to get control over it around the edges.
Spoons
As you start adding elements to your rangoli art, take out your old spoons. Spoons can be used to spread or sprinkle dry-coloured powders evenly within your rangoli design. For instance, if you’re making a floral pattern, gently scoop and release the coloured powder in a controlled manner to create colourful petals. You can also press onto them from the back of your spoons to create depth.
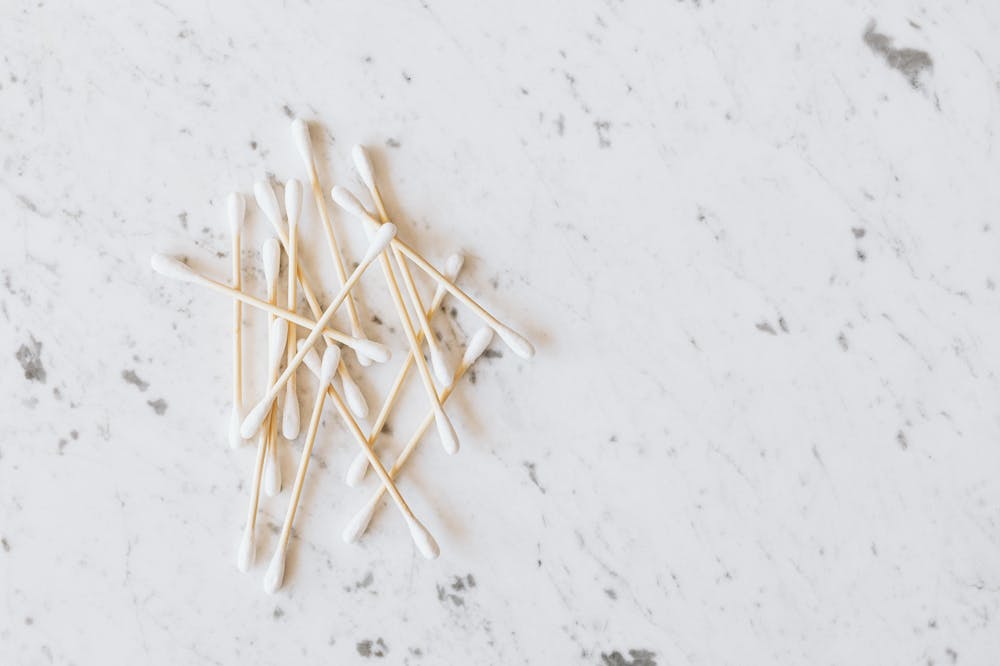
Cotton buds
Adding more details to your rangoli art requires precision. If you have small paintbrushes, then they can be a valuable tool to add fine lines. However, if you do not have them, cotton buds or ear swabs can be used to make small, precise dots and intricate patterns within your rangoli design.
You can use them to apply glue for sticking materials like beads, sequins, or coloured sand. This is especially useful for creating detailed designs such as peacock feathers or geometric patterns, and adding dots or splashes to your designs.
Toothpicks or forks
Toothpicks or forks can be used to create fine lines and carve intricate designs, patterns or details to your rangoli art. You can also use them to scrape away portions of the rangoli design, in case you pour more than necessary. You can also use them to poke holes in the caps of your old bottles making them like squeezy bottles and making lines finer and prominent.
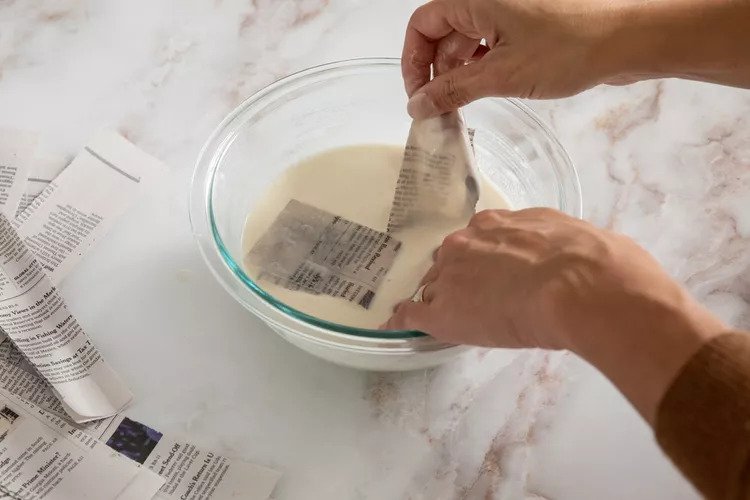
Tissue paper or cotton balls
What more? You do not have to stick to 2-D rangoli art designs this year. If you want to try sth new, dip tissue paper or cotton balls in coloured water or glue and place them to your spread to create 3D or textured effects within your rangoli art. After it dries, you can see raised patterns, adding depth to your design.